Ever see a custom-made gadget, a perfectly fitting phone case, or a intricate miniature and wonder, “How on earth was that made?” More often than not, the answer is 3D printing.
And if that term makes you think of futuristic factories or prohibitively expensive tech, I’m here to tell you something different. 3D printing is here, it’s accessible, and it’s fundamentally changing how we create and solve problems. It’s not magic, but it can feel like it sometimes.
This guide is your friendly map into the world of 3D printing. We’ll walk through it together, step-by-step, without the confusing jargon. Think of it as a conversation over coffee with someone who’s been through the trial and error and is excited to show you the ropes
At its heart, 3D printing, or “additive manufacturing” if we’re being formal, is a simple concept. Instead of carving an object out of a block of material (which is “subtractive manufacturing”), a 3D printer builds it layer by layer, from the bottom up.
It’s like a hot glue gun controlled by a super-precise robot, following a digital blueprint. It places one incredibly thin strand of material on top of another, slowly building a three-dimensional object.
Well, the benefits are pretty compelling:
The process isn’t as complicated as it seems. It really boils down to four key stages. Let’s break them down.
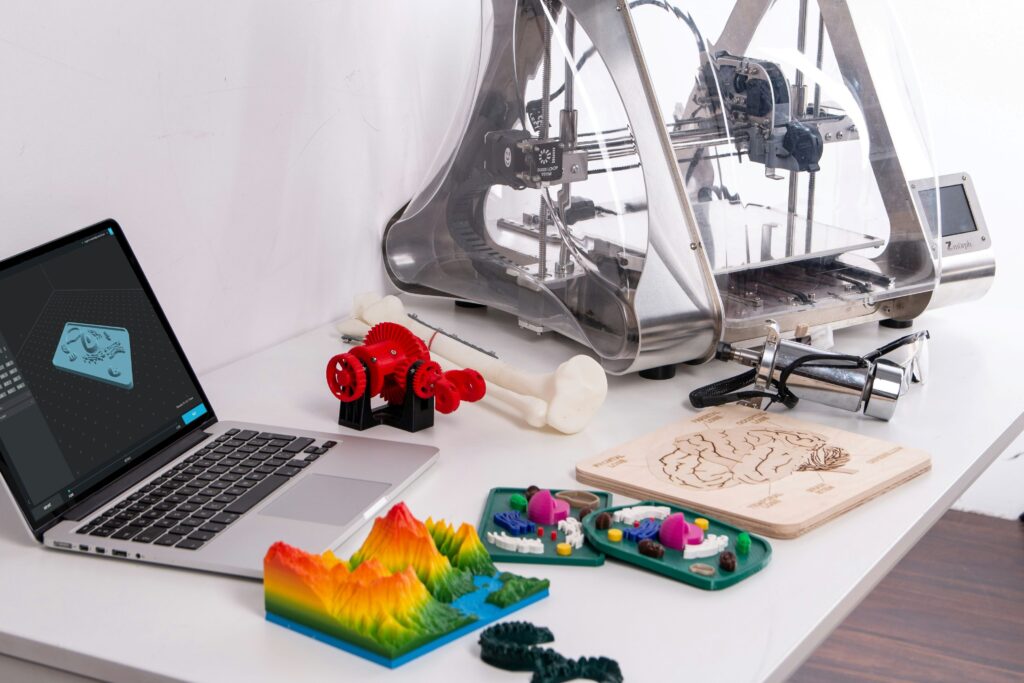
You can’t print something from nothing. You need a digital file, a 3D model, which acts as the instruction manual for the printer.
There are two main ways to get one:
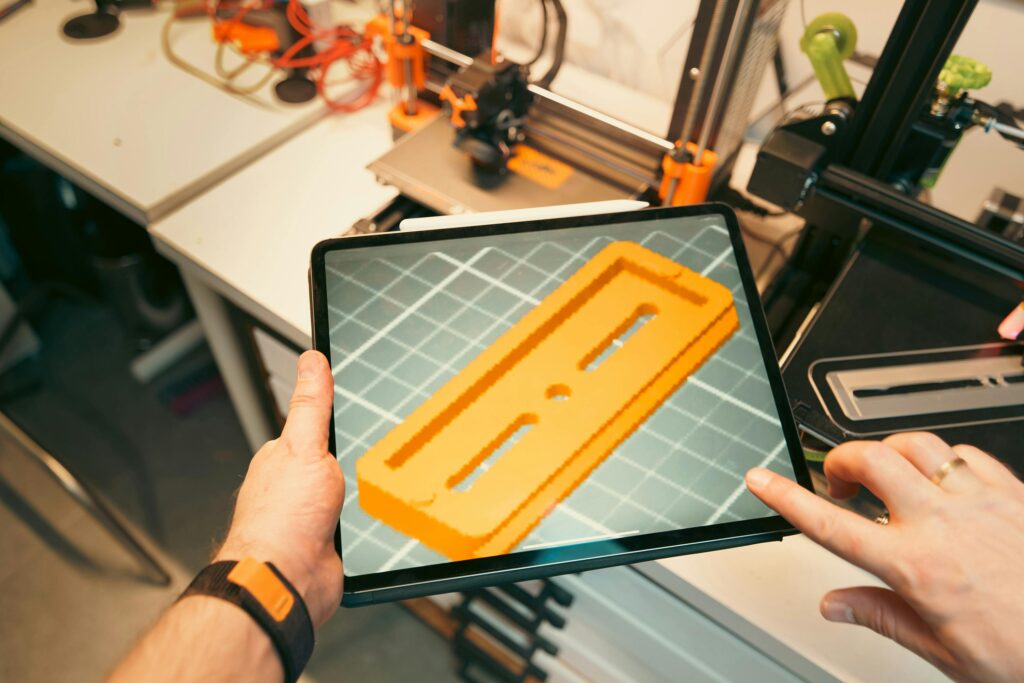
Here’s a secret, your 3D printer doesn’t understand that .STL or .OBJ file you downloaded. It needs a different set of instructions. This is where “slicer” software comes in.
A slicer, like Ultimaker Cura, PrusaSlicer, or Simplify3D, does exactly what its name implies. It takes your 3D model and digitally slices it into hundreds or thousands of horizontal layers. It then generates a G-code file. A precise set of commands that tells the printer exactly where to move, how hot to be, and how much material to extrude for every single layer.
This step is where a lot of the customization happens. In the slicer, you’ll adjust settings that dramatically affect your print.

This is the part you see in the videos. You load the G-code file onto an SD card or send it directly to the printer, hit “print,” and watch the dance begin.
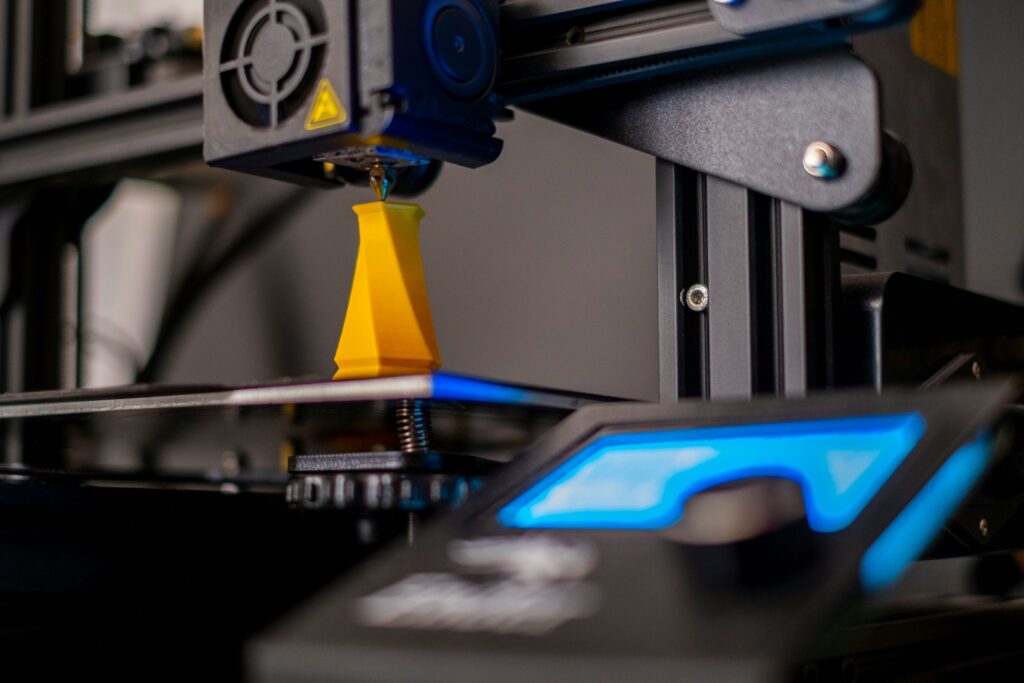
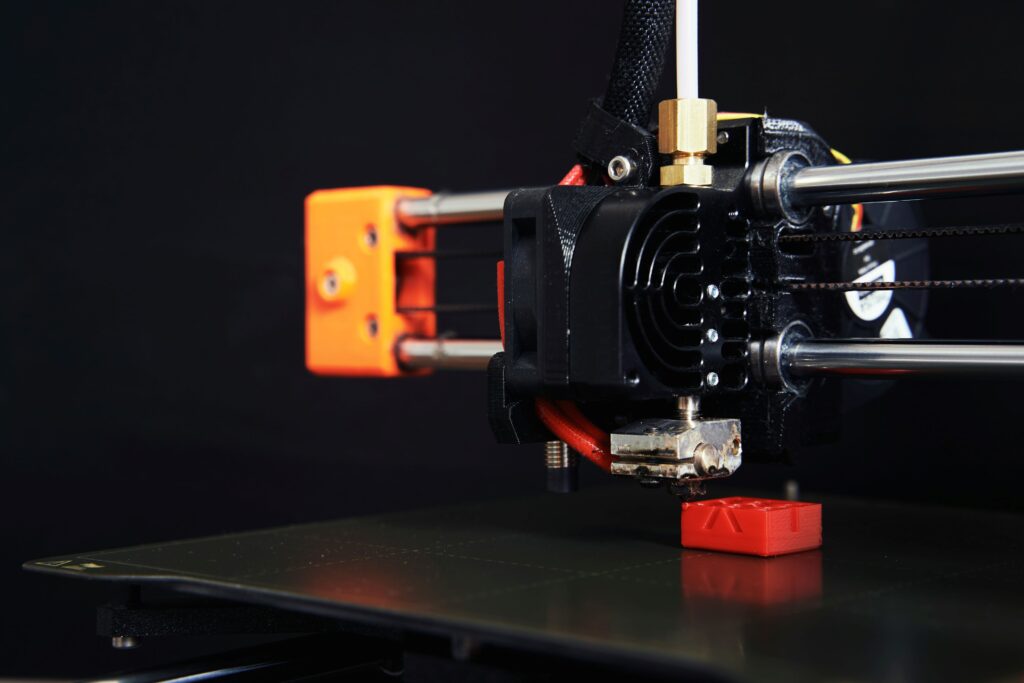
The printer will heat up its nozzle and build plate. Then, the extruder (the part that pushes the filament) will feed the material to the hot end, where it melts. The printer deposits this molten material onto the build plate in the pattern specified by the first layer of the G-code. The plate then moves down slightly (or the print head moves up), and the next layer is printed, fusing to the layer below it.
This repeats layer by layer by layer. A print can take anywhere from 20 minutes to over 24 hours, depending on its size and complexity.
When the printer finishes, your object is done, but it might not be finished. This stage is called post-processing.
For some prints, this just means gently prying it off the build plate. For others, you might need to:
While there are many types, one method dominates the at-home and small-business scene: FDM.
The other technology you should know about is SLA.
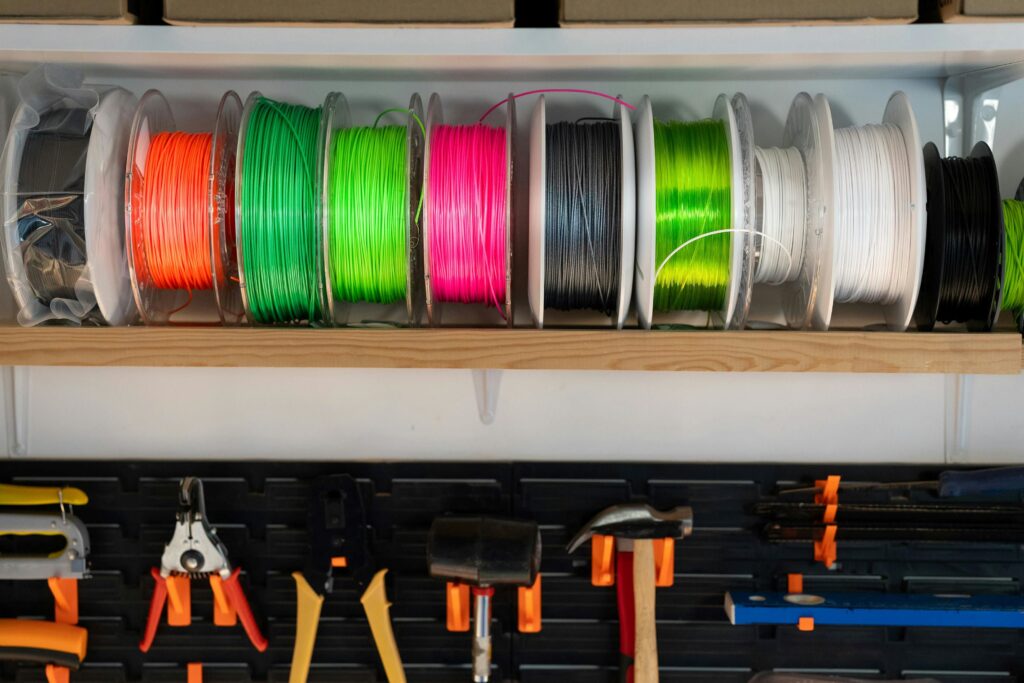
The material you choose is as important as the design itself. For FDM printing, here are the two most common filaments:
And beyond these, there’s a whole universe of specialized materials: flexible TPU, wood-filled, metal-filled, and carbon-fiber reinforced filaments, each opening up new possibilities.
3D printing is far more than a hobbyist toy. It’s already revolutionizing industries.
So, whether you’re a tinkerer looking to build custom solutions, an artist exploring new forms, or a professional seeking to prototype faster, 3D printing offers a powerful and profoundly accessible toolkit. It bridges the gap between the digital and physical worlds in a way that was once the stuff of science fiction.
The best way to learn is to start. Find a model that excites you and take that first step. The world of creation is waiting.